All activities should be supervised by an adult. As an Amazon Associate, I earn from qualifying purchases. This post may contain affiliate links.
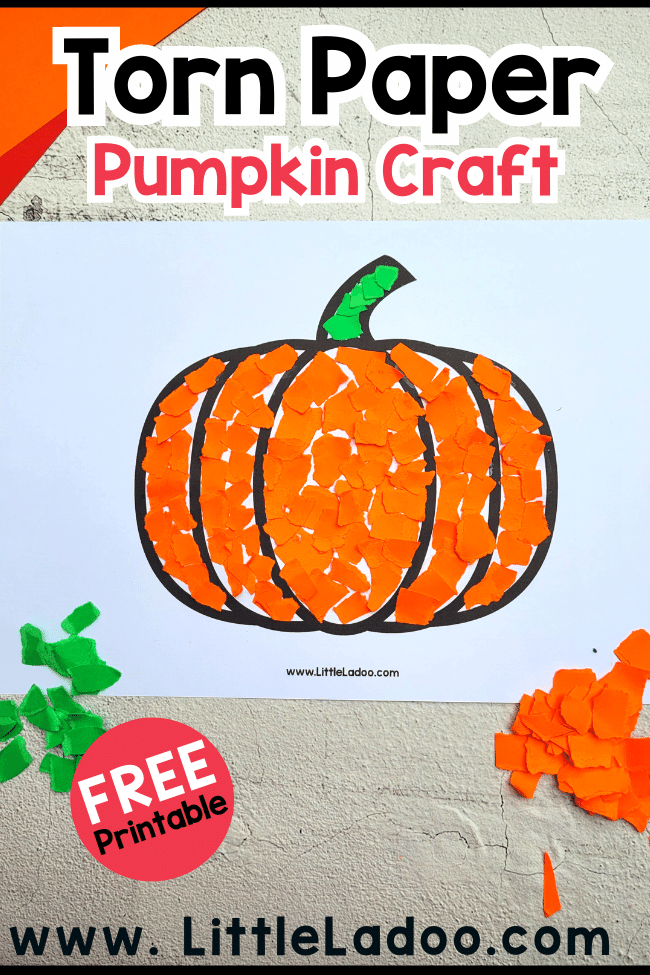
Out of all the crafts for the fall season, making a torn-paper pumpkin craft is super cool! It’s easy and great for little hands to practice using their fingers.
This pumpkin craft goes well with the Fall or Thanksgiving Theme.
Pumpkin is the National Vegetable of India, so it fits right in with India-themed activities.
If you add some black parts, it can become a Jack-o’-lantern, perfect for Halloween. No matter which theme you pick this fall, this craft helps little kids get better with their Fine motor Skills.
We also did the Fall Tree craft and the Earth Craft using the same technique.
Related: Toilet Paper Roll Pumpkin Craft
5 Fun Facts about Pumpkins
- Pumpkin is a Fruit and not a Vegetable.
- The largest Pumpkin ever Weighted is over a TON!
- Pumpkins can float in water!
- Beyond orange, pumpkins come in various colours like white, blue, and even striped patterns
- The tradition of carving pumpkins into Jack-o’-lanterns started with an Irish tale.
Things you need to make the Torn Paper Pumpkin craft
- Pumpkin Template
- Cardstock Paper – Orange and Green
- Glue
Direction to make a Torn paper Pumpkin craft
Here’s a detailed set of directions to create the torn paper pumpkin craft:
Begin by downloading the pumpkin template. You can find it at the end of the post or create your own simple pumpkin shape on a piece of paper. This will serve as a guide for your craft.

Take an orange-coloured paper. Carefully tear these papers into small, irregular pieces. The more variety in size and shape, the better! Similarly, tear some green paper into smaller bits. These will be used for the pumpkin’s stem. Make sure the green bits are smaller than the orange ones.
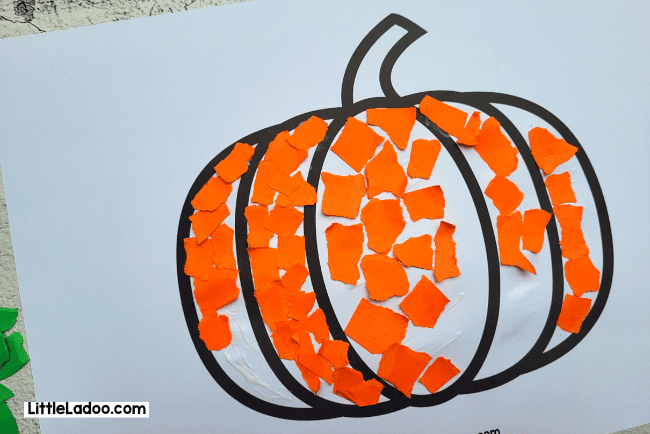
Get a glue stick or white glue ready. Take your pumpkin template and apply a thin layer of glue to a small section of it.
Start by placing torn orange paper pieces onto the glued area. Overlap the pieces slightly, creating a textured and layered look.

Continue adding more glue and paper pieces, section by section, until the entire pumpkin shape is covered.
Apply glue to the top of the pumpkin shape. Attach the torn green paper bits to create the stem at the top of the pumpkin. You can also attach a smaller piece as a leaf next to the stem.
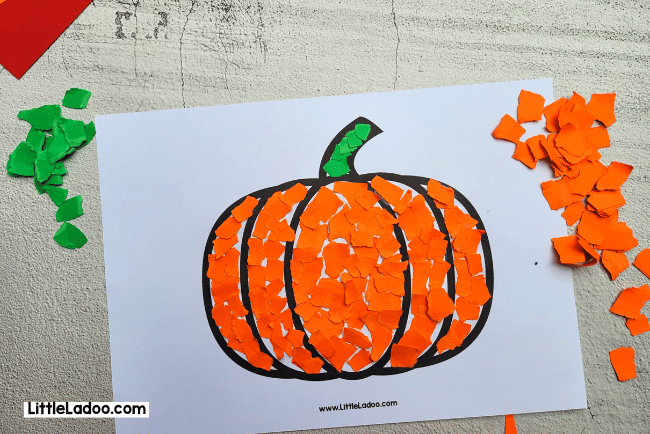
Allow your torn paper pumpkin to dry completely. This might take a little while, so be patient!
Once the glue is dry, your torn paper pumpkin craft is ready to be displayed. You can put it up on the wall, attach it to a card, or even make a few more to create a colourful pumpkin patch!
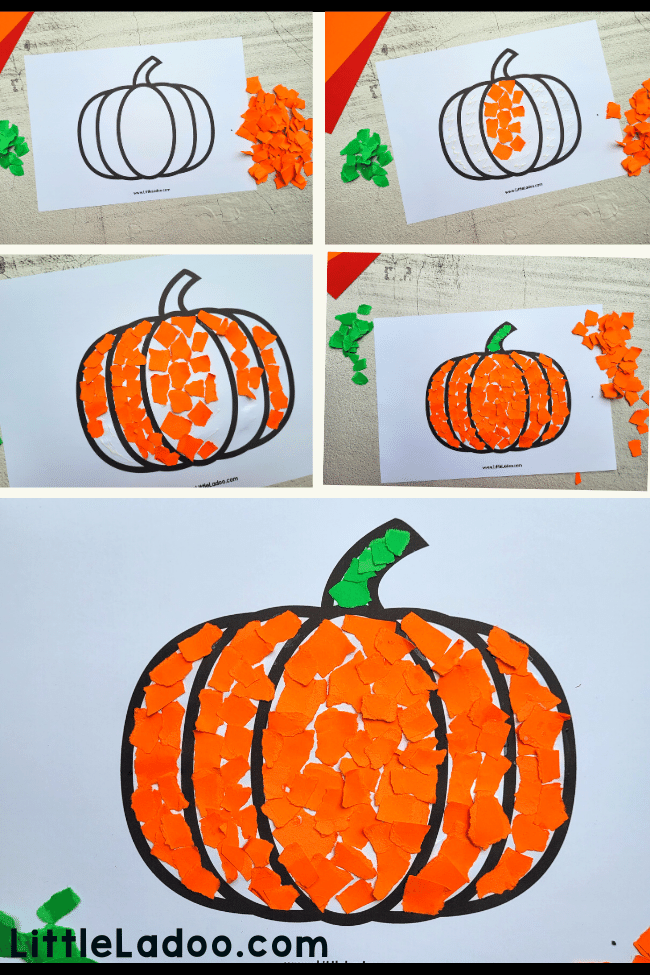
Remember, this craft is all about creativity, so don’t be afraid to experiment with different paper shapes and arrangements to make your torn paper pumpkin unique and special.
More Fall Crafts for Kids
