All activities should be supervised by an adult. As an Amazon Associate, I earn from qualifying purchases. This post may contain affiliate links.
Are you in search of creative ways to upcycle your pistachio shells? Look no further – the Pista Shell Christmas Tree might be the perfect solution!
Crafting these trees is simpler than you might think, and you can customize them to any size you desire. We recently tried our hand at this project after successfully creating a similar Pista Shell Wreath last month.
These festive creations have proven to be invaluable additions to our Christmas decorations, and we can’t get enough of them!
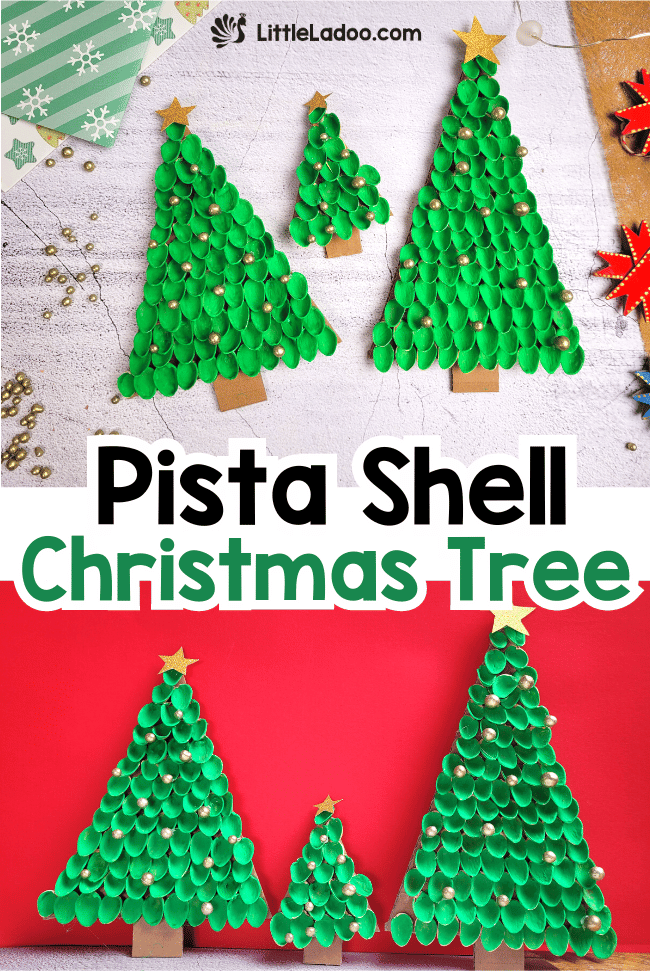
This craft is perfect for teens, tweens, and adults – providing a delightful and engaging activity for those looking to add a personal touch to their holiday decor.
If you’re searching for Christmas tree crafts suitable for kids, be sure to explore our other kid-friendly Christmas Tree Crafts options!
Pistachio shells, often an overlooked crafting material, reveal their hidden potential in creating astonishing and unique crafts. Join us in discovering the wonders you can craft with these humble yet versatile shells!
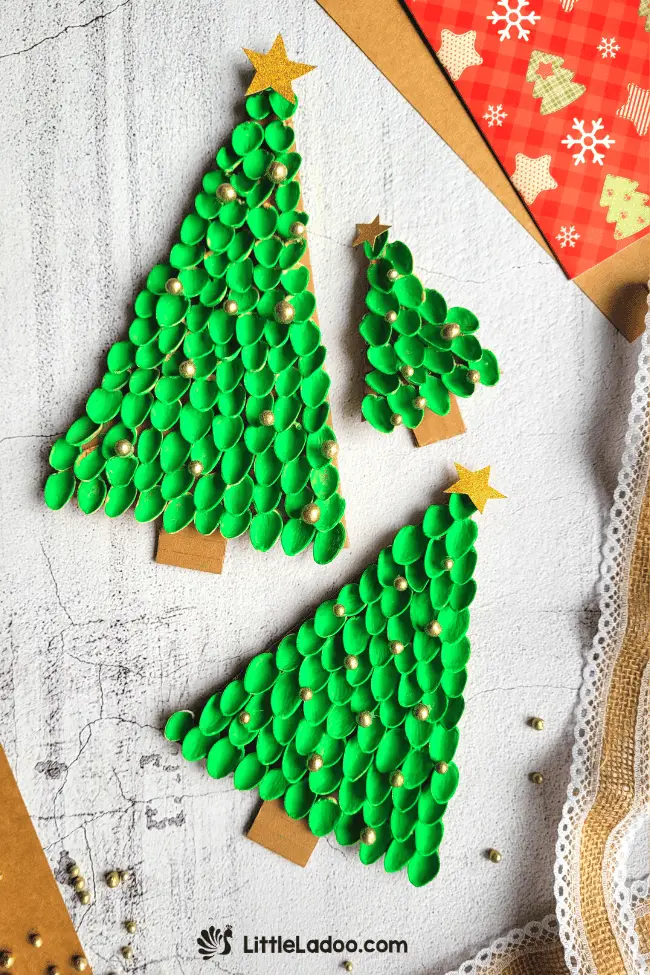
Things you will need to make this Pista shell craft
- Pista shells
- Cardboard sheet
- Pencil
- Steel ruler
- Cutter
- Cutting mat
- Hot Glue Gun
- Gold Glitter sheet
- Gold Balls
- Washable Paint -Green
Watch a Video on how to make the Paste Shell Christmas Tree
Directions to make Pista Shell Christmas Tree
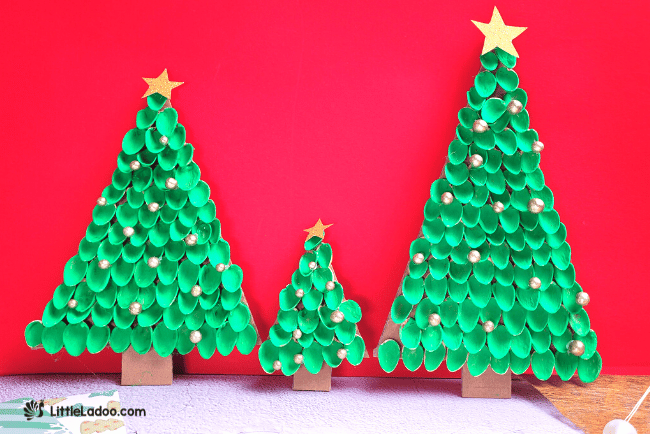
We created Christmas trees in three sizes. The following step-by-step instruction with pictures is that of the biggest tree – which is roughly 25 cm.
Creating the Base
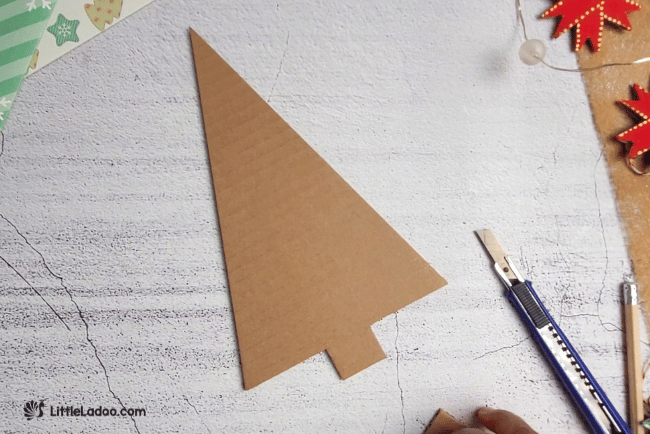
Commence by sketching the Christmas tree outline on a cardboard sheet, forming a long triangle with a small square base at the bottom centre – this forms the base of your Christmas tree.
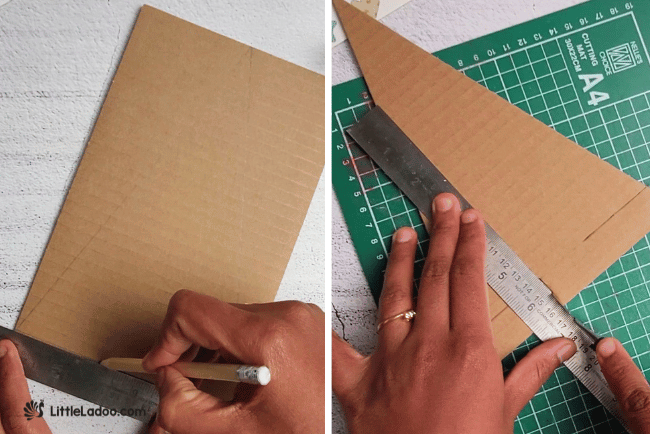
Place the sheet on a cutting mat and utilize a cutter along with a steel ruler to precisely cut out the tree along the drawn lines.
Affixing the Pista Shells
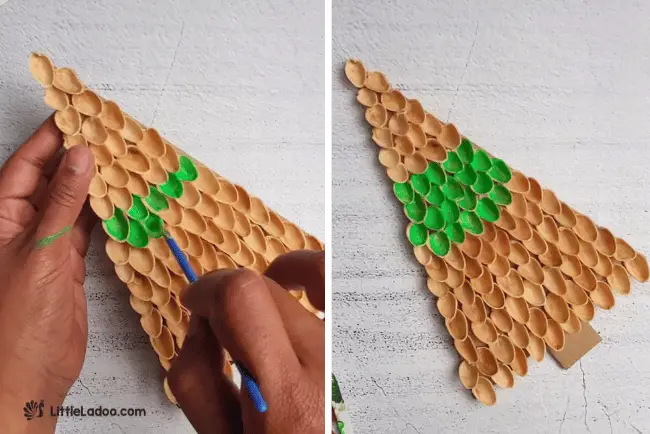
The next step involves attaching the Pista shells to the triangular part of the Cardboard. Always start at the bottom for optimal results.
Apply hot glue over approximately 5 cm or as needed to attach four shells, then firmly press the Pista shells onto it, ensuring the concave side faces upwards. Press firmly to secure them to the cardboard to prevent detachment during painting.
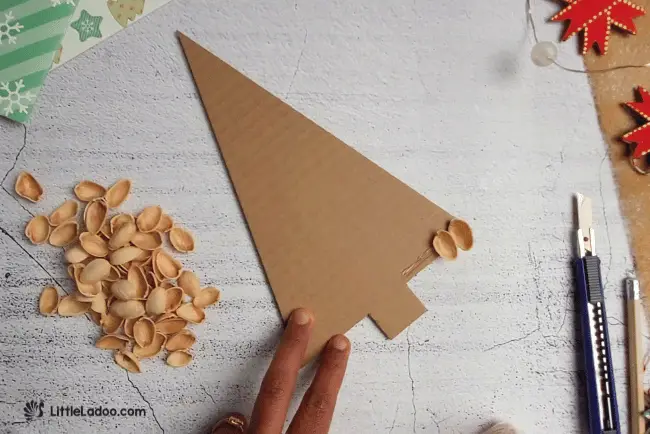
Quickly stick the remaining shells before the glue sets. Hot glue dries rapidly, allowing only a few seconds for attachment, necessitating working in small batches of 3 or 4 shells per round.
Continue attaching the Pista shells to complete the First row using the hot glue gun.
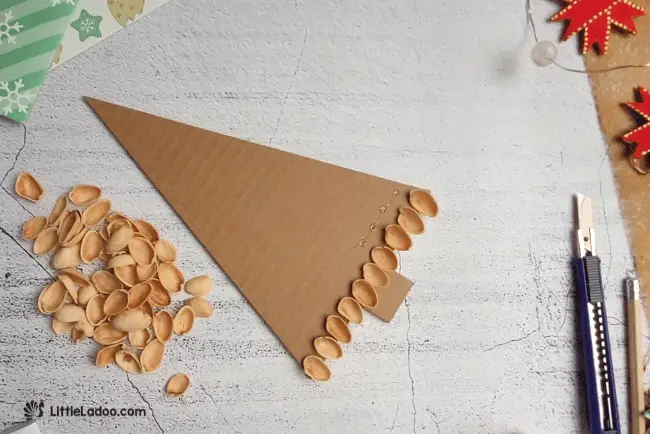
The Pista shells on the next row should point outward at the bottom slightly overlapping the first row. This is to resemble the branches of Christmas trees.
Repeat the process to complete the second row.
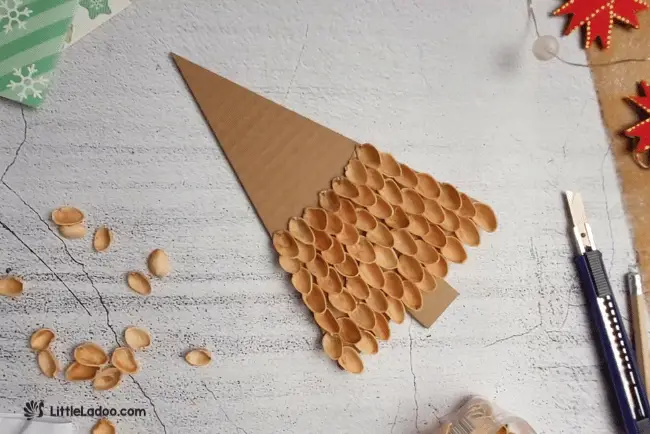
Proceed row by row until reaching the top, ensuring sufficient glue application and firm pressing to prevent shells from falling off during painting.
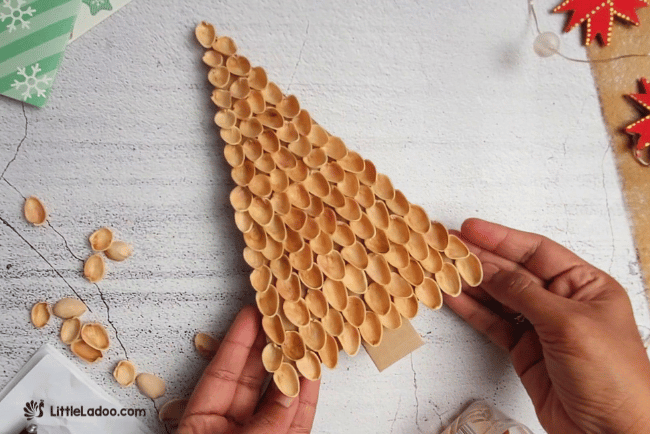
Once the tree is fully assembled, leaving it in its natural state is an attractive option.
Alternatively, proceed to paint the Christmas tree.
Painting the Christmas Tree:
Utilize green tempera paint and a small brush for painting the Shells.
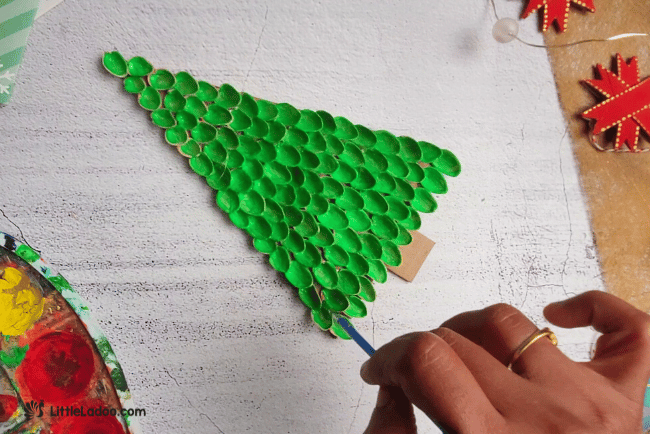
Paint each shell until the entire tree is coated, Although it may appear time-consuming, it only takes a few seconds per shell.
Once the entire surface is covered with paint, allow it to dry. Apply the paint evenly for quick drying. After the first layer of paint is dry, proceed to apply another coating.
Decorating the Christmas Tree:
Once the second coating dries, affix a gold star to the top of the tree and add gold glitter balls randomly.
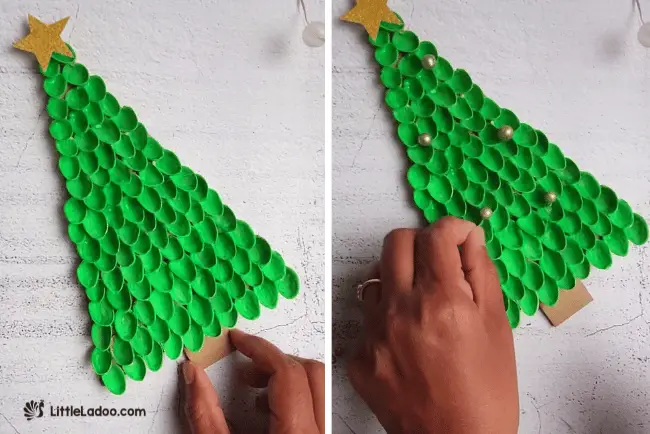
After completing this step, take a moment to remove any stray strings of hot glue that may be sticking here and there. You can easily accomplish this by using a pair of scissors to cut them off or by simply pulling them out.
Congratulations, your Christmas tree is now ready to shine!

Feel free to craft as many trees as needed in various sizes using this step-by-step pista shell tutorial.
Check out our Pista shell wreath for more creative ideas.
FAQ about Pista Shell Christmas Tree
1. How many pasta shells are needed for one Christmas tree?
We crafted three Christmas trees of different sizes (10cm, 20cm, and 25cm) using approximately 2 cups of empty pistachio shells. All shells were clean without any nut residue and had been collected over a month.
2. Can spray paint replace tempera paint?
Certainly, spray paint is a time-saving alternative. Take necessary precautions to protect the surroundings.

3. Will the shells break if the tree falls?
The extent of breakage largely relies on the effectiveness of how well they are attached with hot glue. In the event of the tree falling from a height, a few shells might come loose.
However, it’s a simple task to reattach them using the same hot glue. Handle it with care and ensure it’s placed out of reach of children for safety precautions.
4. Any alternatives to Pista shells?
Explore using small stones, uncooked pasta, or twigs to create your Christmas tree.
