All activities should be supervised by an adult. As an Amazon Associate, I earn from qualifying purchases. This post may contain affiliate links.
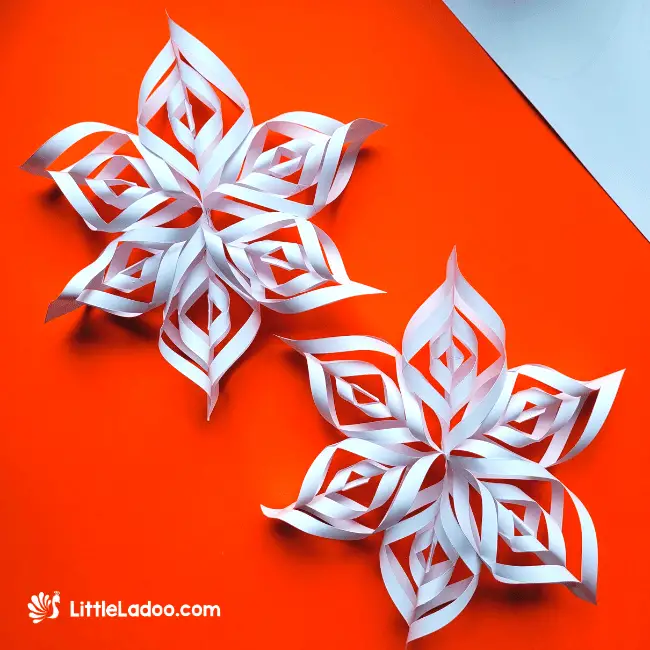
Get ready to transform your space with the charm of 3D Paper Snowflake Craft! Whether you’re Preparing for Christmas decorations, or hosting a Winter Birthday Party, this might be the most cool and inexpensive paper decor that you can make!
Worried it might be tricky? Don’t be! Our free templates make it a breeze. Just print, fold, cut, and glue – it’s that simple!
We’ll guide you through each step with clear pictures and a video tutorial. Let’s turn ordinary paper into extraordinary snowflakes – They are so easy than they look.
Things you’ll need to make a 3D Paper Snowflake
- Free Printable Snowflake Template
- Construction Paper
- Scissors
- Glue
- Stapler (optional)
Watch Video on How to make a 3D Paper Snowflake Craft
Directions to make a 3D Paper Snowflake Craft
Here’s a simplified guide to crafting your 3D Paper Snowflake:
Print the Template
Fold and Cut the Square
Begin by creating one arm of the snowflake. Follow the reference lines for folding and the dashed lines for cutting. Fold the square diagonally in half along the reference line.

Fold it again diagonally, then make slits along the dotted lines using scissors.

Ensure not to cut through the entire length which leaves you less than a 1cm gap at the end.

Unfold the paper to reveal concentric squares.

Glue the Flaps
Start by glueing together the innermost pair of flaps by the tips, pressing them for a few seconds to secure.

Flip it over and repeat the process with the next innermost pair of flaps. Repeat it

Note that You have to flip for every step.
By sticking the Flaps on either side, the snowflake is taking shape. Continue this flipping and glueing process until all flaps are secured.

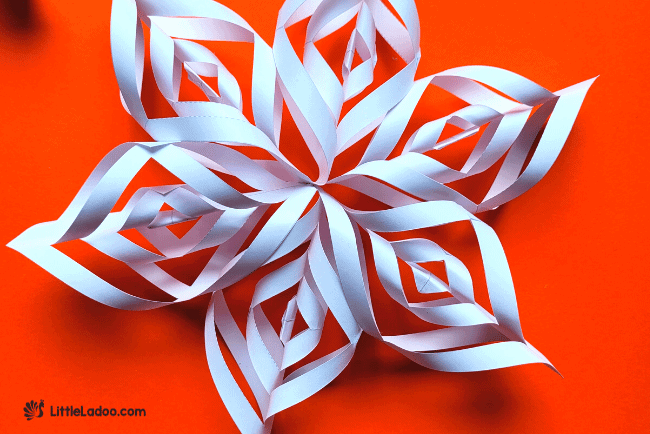
Once your outermost pair of Flap is stuck together, the one arm of the snowflake is Ready.

Make all the Snowflake Arms:
Repeat the folding, cutting, and glueing process for the remaining 5 arms of the snowflake.

Sticking the Arms together:
Use glue to stick the arms together.

Sticking the final arm may be difficult to do as there is less space to intrude and press, but can be done
Alternatively, you can use staplers to join the arms at the centre. In the below image you see two snowflakes, The left one is adhered using glue while the right one is affixed with a stapler.
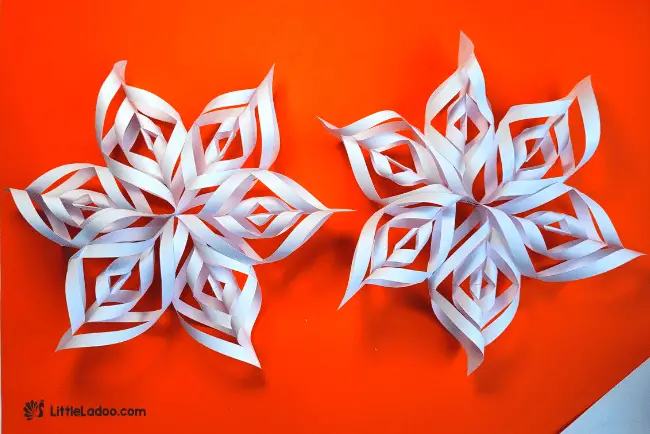
You choose what suits you the best. Let me know how easy this snowflake craft was for you.
Final Touches
Once your snowflake is assembled, admire your handiwork! Feel free to experiment with different colours and sizes.
This craft is suitable for teens and adults.
Looking for more snowflake inspiration? Check out our blog for snowflake ideas for little ones, including the Q Tip Snowflake and Tape Resist Snowflake Art.
Don’t forget to download the Snowflake Art Printable to get started!
More 3D Paper Crafts
Download the Snowflake Art Printable