All activities should be supervised by an adult. As an Amazon Associate, I earn from qualifying purchases. This post may contain affiliate links.
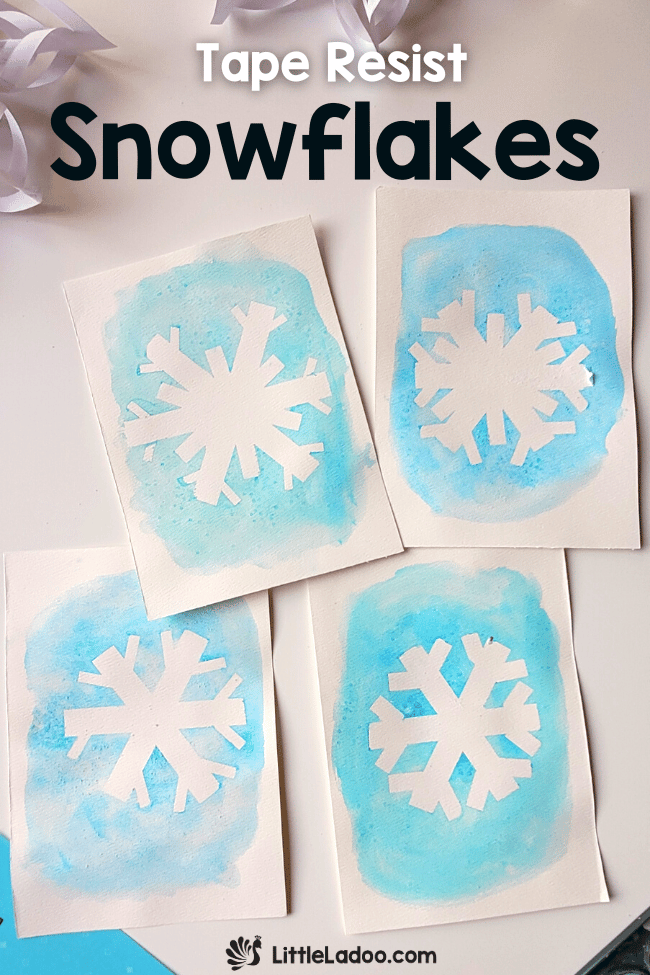
Introducing a Winter Twist to Tape Resist Art – The Tape Resist Snowflake Craft for kids of all ages!
Tape-resist art is not only enjoyable but also yields beautiful results. Children eagerly anticipate removing the tape to unveil their creations, and it always concludes with a sense of wonder!
We’ve experimented with various art projects with our daughter, and trust me, all kids will adore this activity.
ThingsYou’ll Need to Make Tape Resist Snowflake Craft
- Watercolour Sheet
- Washi tape (variety of sizes)
- Watercolour
- Paintbrushes (foam or sponge brushes work well)
- Water container
- Paper Towels or a Rag
How to Make Tape Resist Snowflake?
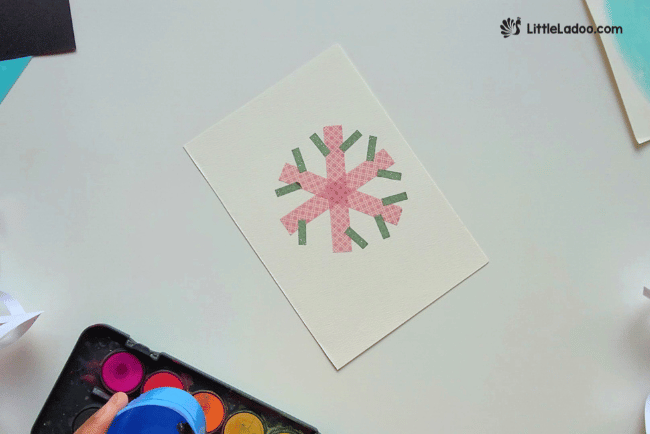
Lay out your paper: Place your watercolour sheet on a smooth surface. For this craft, we used A5-size paper, but you can also choose A4 sheets.
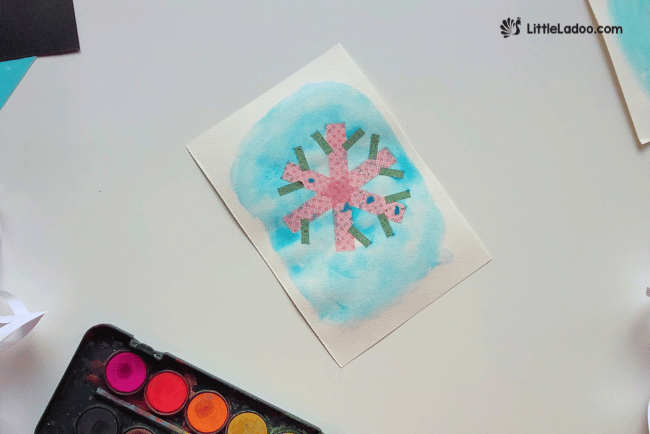
Create your snowflake design: Use washi tape to design your snowflake on the paper.
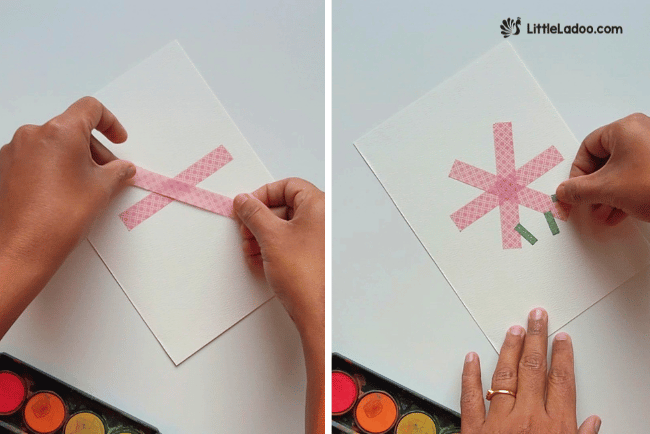
You can experiment with various shapes, sizes, and angles to craft unique snowflakes. Younger kids might need assistance with this step.
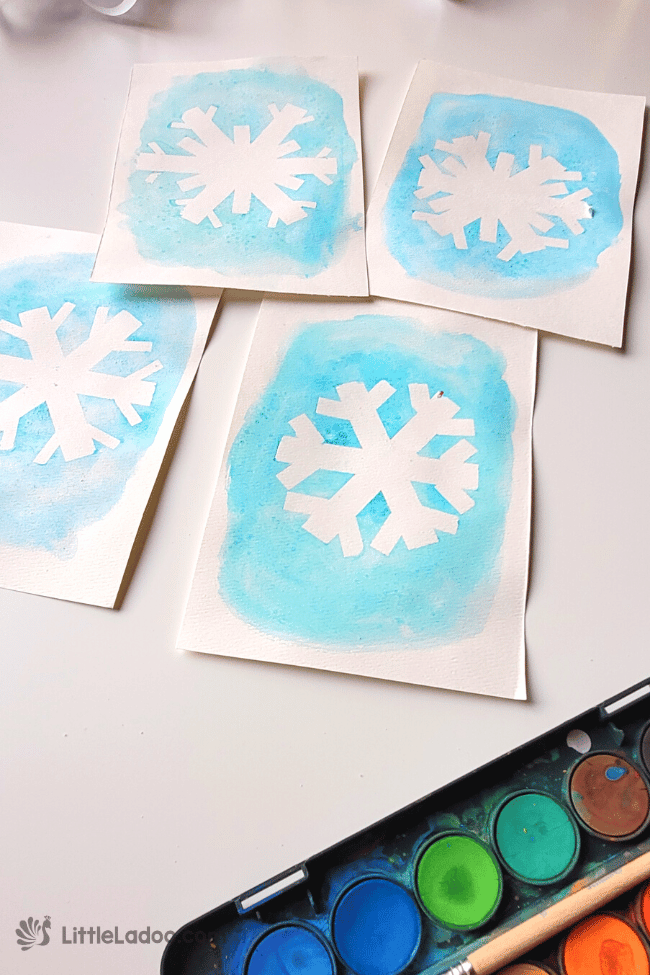
Paint your snowflake: Use a paintbrush to entirely paint the sheet blue. You can cover the entire sheet or leave some space at the perimeter.
For this particular craft, we employed a technique called a wet-in-wet watercolour painting.
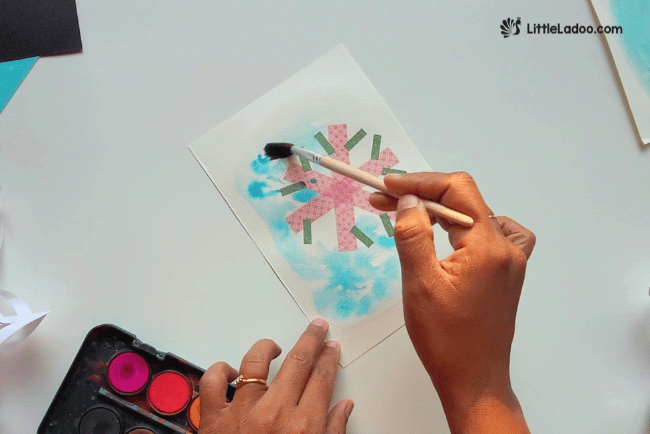 Begin by brushing only water onto your paper. Then, dip your brush in paint and spread it over the wet areas. The paint will feather and diffuse, creating a magical effect.
While kids’ tempera paint offers vibrant colours suitable for this craft, Watercolour creates less mess with kids.
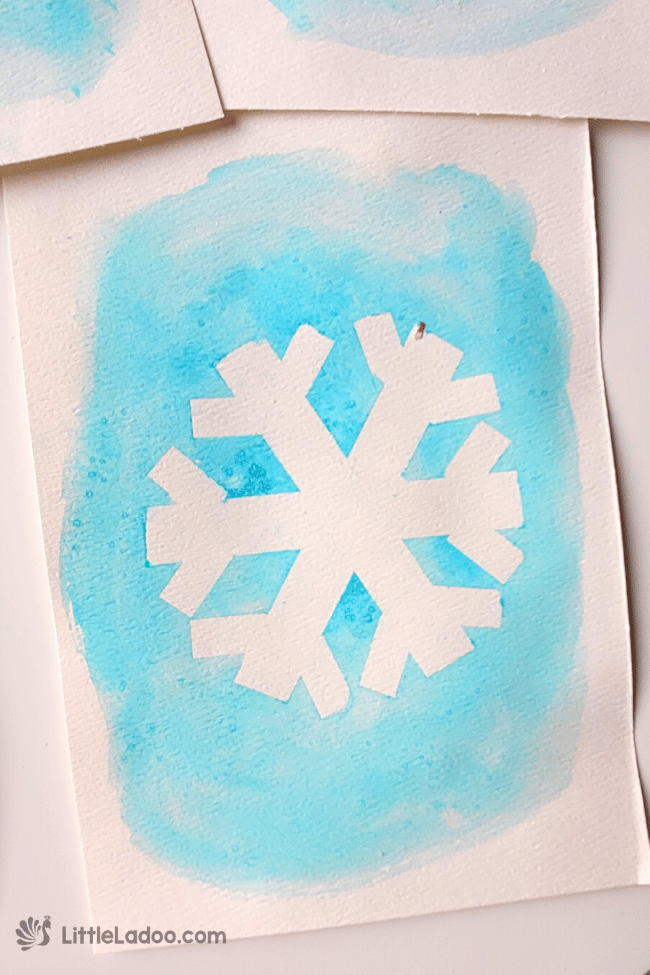
Sprinkle salt: Once you’ve filled in the spaces around the tape, sprinkle a pinch of salt around the wet areas.
This will absorb water and produce random beautiful dark and hollow spots across the sheet, creating a natural glitter effect.
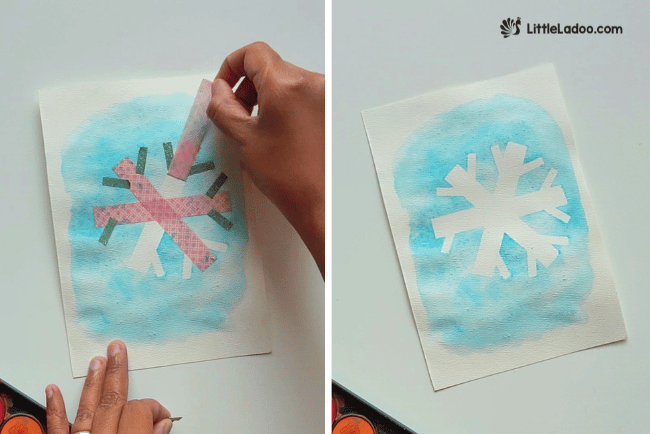
Allow the paint to dry: Let the paint dry completely before proceeding to the next step. This ensures that the paint doesn’t smudge when you remove the tape.
Peel off the tape: Carefully peel off the tape, revealing the beautiful snowflake design you’ve created. Be patient and gentle to avoid tearing the paper.
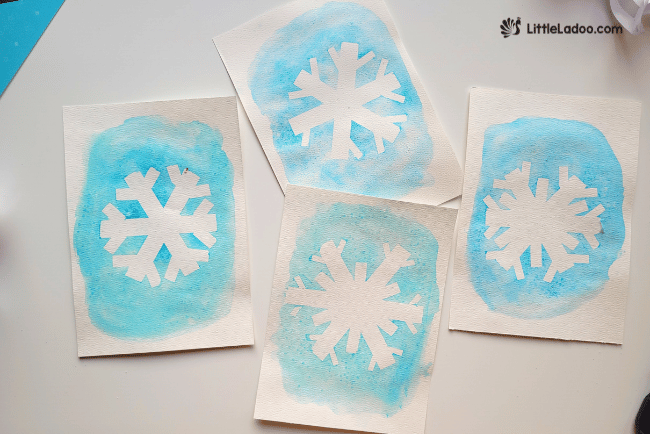
Add finishing touches: If desired, you can enhance your snowflake with glitter or other embellishments.
Step back and admire your masterpiece!
Different Approaches to Tape-Resist Snowflake Art
- Explore diverse paint colours and techniques to craft unique snowflakes.
- Consider creating tape-resist snowflake art on a paper plate instead of paper.
- Expand your creativity by applying the technique to paint a canvas adorned with snowflakes of varying sizes—an ideal decoration for the winter season.
This tape-resist snowflake craft is a great way for kids to express their creativity and learn about the art of resist painting.
It’s also a fun and festive activity that can be enjoyed during the winter months. So gather your supplies and get ready to create some magical snowflake masterpieces!
More Snowflake Crafts for kids
You might also like the Free printable Snowflake matching cards