All activities should be supervised by an adult. As an Amazon Associate, I earn from qualifying purchases. This post may contain affiliate links.
What are Flashcards and how to make Flashcards for kids?
Flashcards are great learning tools for kids of any age. It is a card that has either text, image, or both, and is mostly used to help in teaching children and for playing in general.
They are great to introduce new words or images and improve their memorization skills.
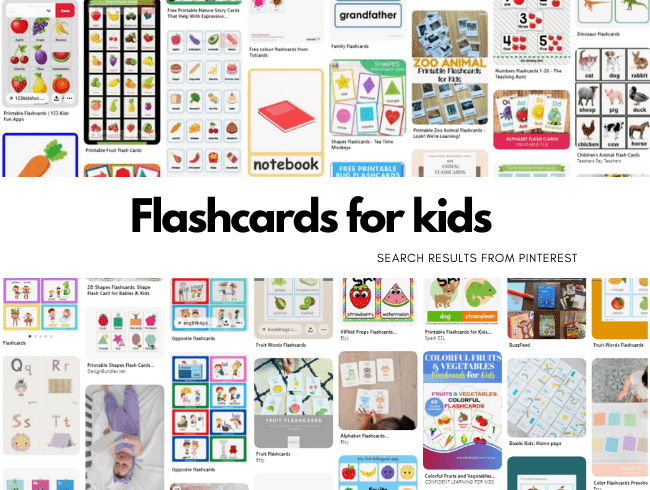
The Internet has a lot of paid and free printables for almost every topic you might want to teach your kid. You can easily print and cut them for your use.

But the problem is that they easily wear out and tear. And they just won’t last long in those cute little hands of our children. Hence, they should be more durable. But how do we make them durable?
Here is what we do! We just need to laminate them to resist wear and tear.
Pretty simple.
I have shared a step-by-step video here showing how it’s done. Watch this video or scroll below to read the description with tips and tricks.
What do we need or Tools Required to make Flashcards
(Contains affiliate links for your convenience)
1. Flashcard Printables of your choice
2. Laminator
3. Laminating pouches
4. Paper trimmer or Scissor
5. Corner rounder
If you are wondering whether buying a laminator is worth the money, I highly recommend you not to fret over it and just buy. Because a range of children learning resources like busy book pages, playdough mats, pre-writing sheets, learning folders, etc. needs laminating. They ensure that the products last considerably longer and are cleaner like these flashcards I have made here.
And if a product lasts longer, it saves the headache of going through the whole shopping process again, you also need to pay for many of them.
Nowadays, laminators are very inexpensive and you can get a very good one within 50$. It is really worth it if you are home-schooling your kid. I am really very happy that I bought one when my child was 18 months old.
You can also consider getting a combo pack like this which includes a Laminator, Pouches, Trimmer, and Corner Rounder.
Brief instructions to make Flashcards or How it is done
1. Find your favorite flashcard set and print them.
2. Turn on the Laminator, let it heat up.
3. Meanwhile, enclose the printouts with the laminating pouch.
4. Once the laminator is ready, insert it slowly in the provided inlet.
5. After lamination, You need to cut them into individual cards. A scissor would suffice but a paper trimmer would save a lot of time. It makes quick and perfect cuts and the end product will look great.
6. The cards are almost ready, but hold on for a second! You may notice that the edges are quite sharp, it is our duty to make sure that products are safe for our babies. So, here is what we do. Take the Corner Rounder and trim all the edges. It is simply like using a punching machine. If you are using a scissor, then cut carefully to ensure that the design isn’t ruined.
There we go! Not only are these cards are going to last longer, but they are also safe for our toddlers.
In this video, I am using 80 micron/3mil laminating pouches. If you are using 125 microns or 5 mil pouches, you need to do one more step before step 3. After printing, cut them into individual flashcards. Then place them inside the pouch leaving a small gap in between the cards. Then laminate and follow the rest of the steps.
Your flashcards are ready! The printables in the video are the flashcards that I made for my daughter. You can download it from here for free.

