All activities should be supervised by an adult. As an Amazon Associate, I earn from qualifying purchases. This post may contain affiliate links.
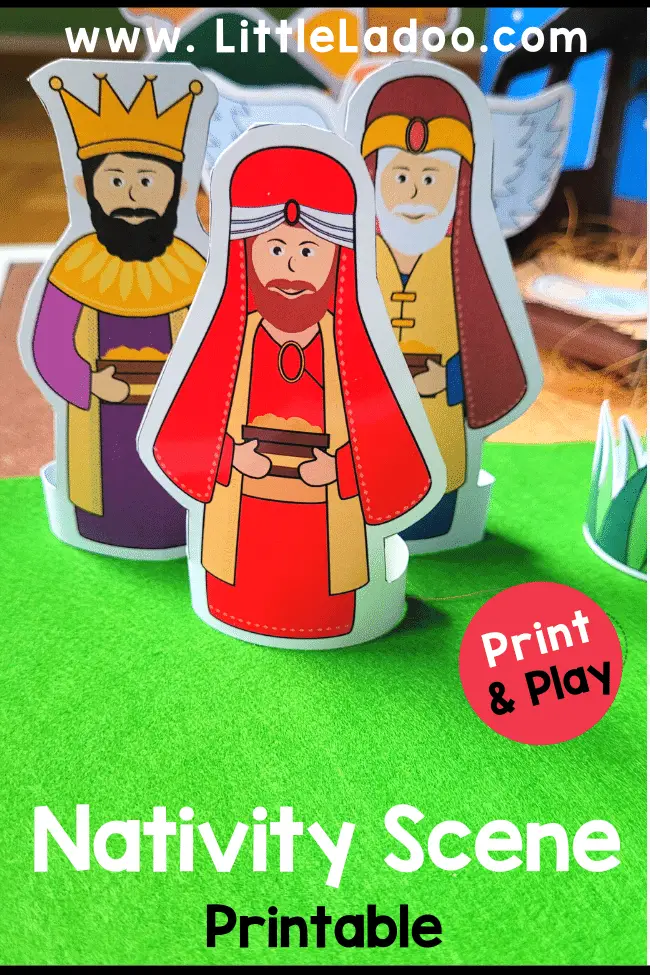
If you’re seeking a fun and effective tool to teach the Nativity story to children, then this DIY paper Nativity scene printable is a great option.
Creating this Nativity scene using the printable is Super-easy and enjoyable, especially for kids!
In this blog post, I’ll provide a step-by-step video tutorial on how to make the Nativity scene using the printable. Additionally, I’ll share some helpful tips and tricks to make the process even simpler.
Let’s dive in and get started!
What is a Nativity Scene?
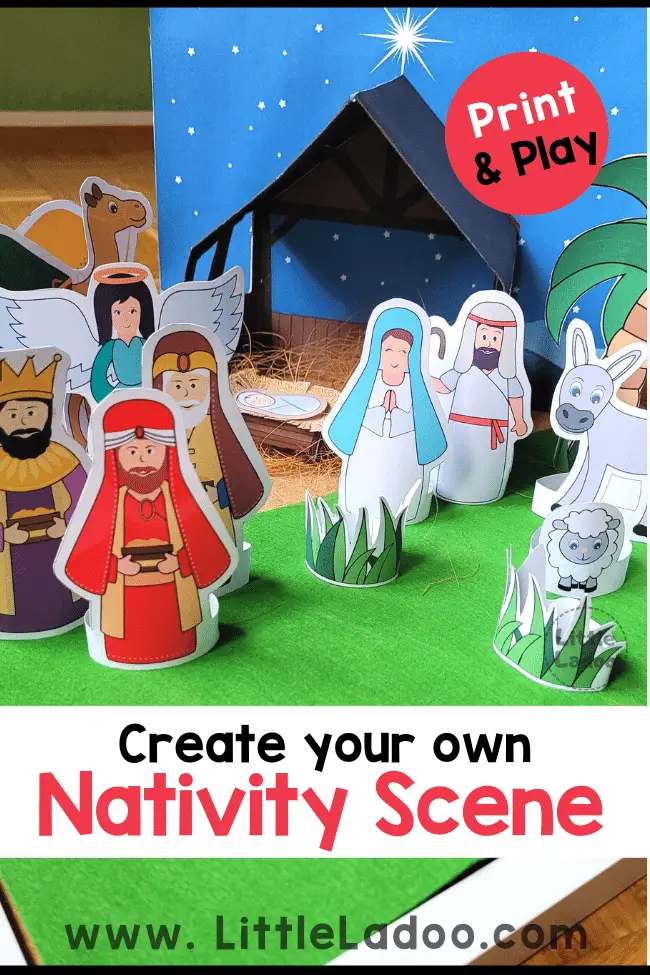
A Nativity scene is a representation of the Birth of Jesus, typically featuring the baby Jesus in a manger, with Mary and Joseph, shepherds, and animals.
It is a popular Christmas decoration and a symbol of the Christian faith.
The popularity of Nativity scenes during Christmas and how they can be used for educational purposes
Nativity scenes are a popular Christmas tradition worldwide, with many families incorporating them into their holiday decor. Beyond their aesthetic appeal, Nativity scenes can also serve as an educational tool for children.
Parents can use them to teach about the Christmas story, instill values, and introduce children to different cultures. Nativity scenes are also used in religious education to teach about the significance of Christmas.
Although we do not follow Christianity, we enjoy exploring diverse cultures and traditions. In December, we engage in various Christmas-themed crafts and activities. Therefore, I created a Nativity scene to acquaint my child with the Christmas story.
I created these illustrations for Christmas 2020 and take pleasure in setting up the Nativity scene each year.
These illustrations are unique because I personally crafted each character, making them one-of-a-kind. You won’t find these anywhere else on the web.
With this printable, Children will relish crafting this scene and appreciate the final product. It brings me great joy to know that my work brings happiness to numerous families during the holiday season.
How to Make a Nativity Scene?
Creating a Nativity scene with the printable is a breeze! Simply get printable, print it out, cut the pieces, fold them as needed, and glue them together.
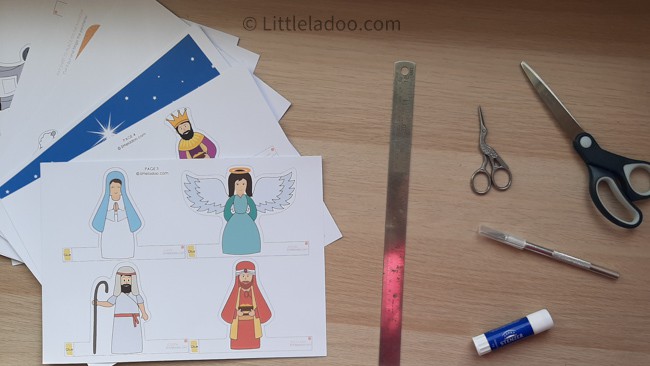
Things Needed
You will need just a couple of things you already have at home to make this set.
- The Nativity Printable
- Cardstock or photo paper
- Paper glue
- Scissor/cutter
- Ruler
Directions to make Nativity Scene
It takes about 60 to 90 minutes to finish making the set from scratch. First, you need to download the Nativity Printable and Print the pages on either cardstock or Photo paper.
Watch video tutorial
Check out the video tutorial below for a detailed guide and pause when necessary to follow each step.
This video explains the entire process in 3 easy steps.
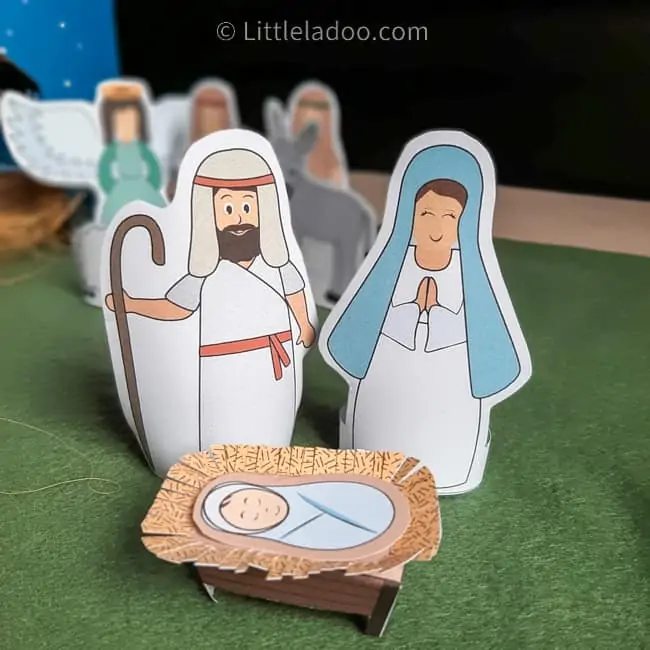
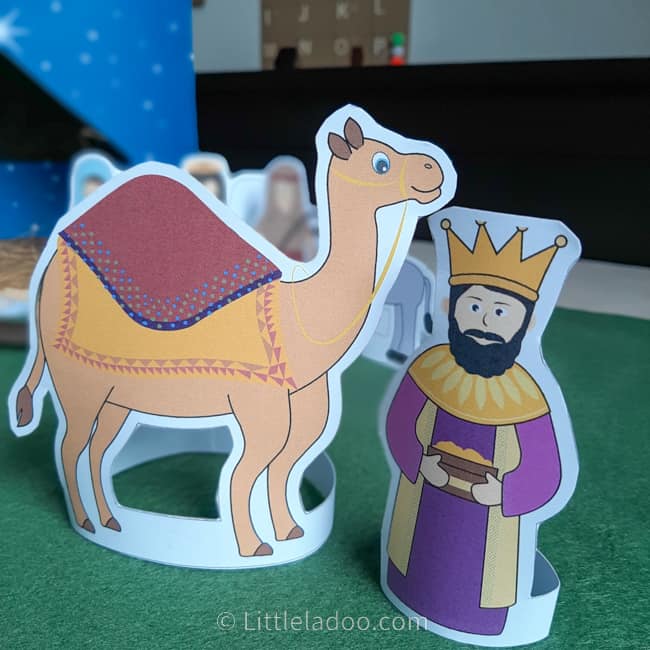
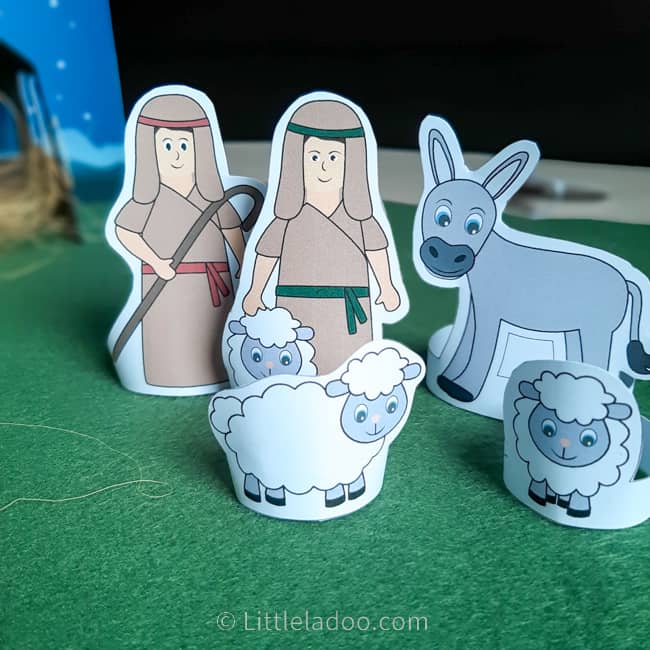
Step 1: Make the Nativity Characters
Cut the characters out neatly along the edges.
Bring together the Flaps on either side and Glue them to make each character.
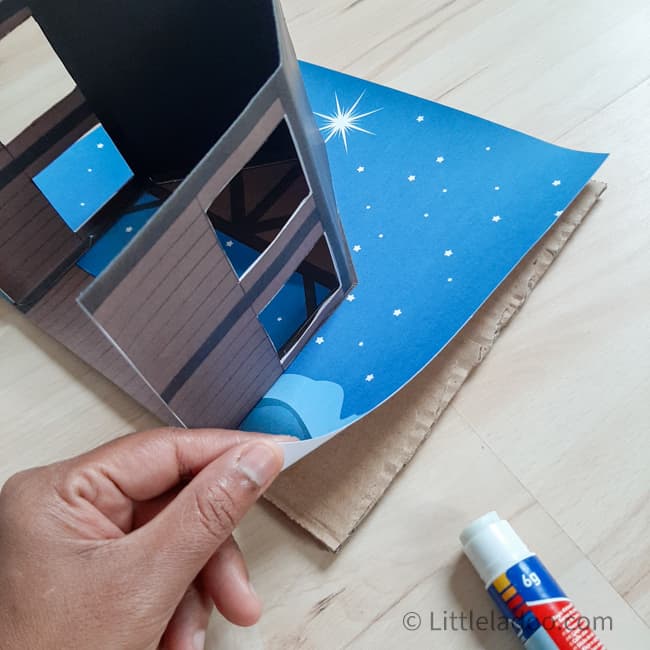
Step 2: Make the Shed
For the Shed, you to cut, fold and glue 3 Pieces together – The Back and the two sides with the roof.
First, cut the pieces out, Please also cut the rectangular window areas. Now Fold the Flaps as Instructed and Glue them to the Back Sheet.
(To fully understand the process, it is necessary to watch the video tutorial)
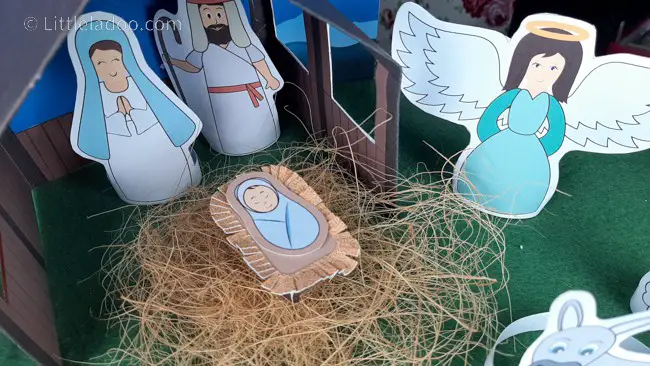
Step 3: Make the Manger
For the Manger – You just have to Fold the flaps and glue as instructed. The hay piece needs to be fringed on all sides. Just place the Baby Jesus, above the Manger and Hay.
That is all you need to do to make your own Nativity Scene.
Tips and Tricks
In addition, here are some extra tips that may help you with your Nativity Scene project.
1). Adding a cardboard sheet to the back of the shed to prevent it from getting saggy after a few days. This will help ensure that the Nativity scene stays intact and looks great throughout the holiday season.
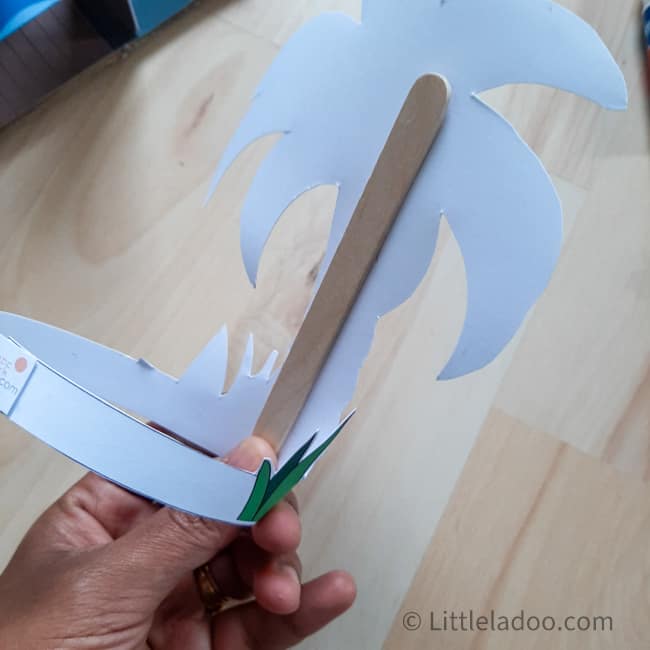
2). To make the palm tree steadier, Stick a popsicle stick on the rear of the tree. This will help it stay upright and prevent it from falling over.
3). In the video and above images, cardstock paper and standard printing were used. However, printing the characters on photo paper can make them appear more vibrant and visually appealing as you see in the image below.
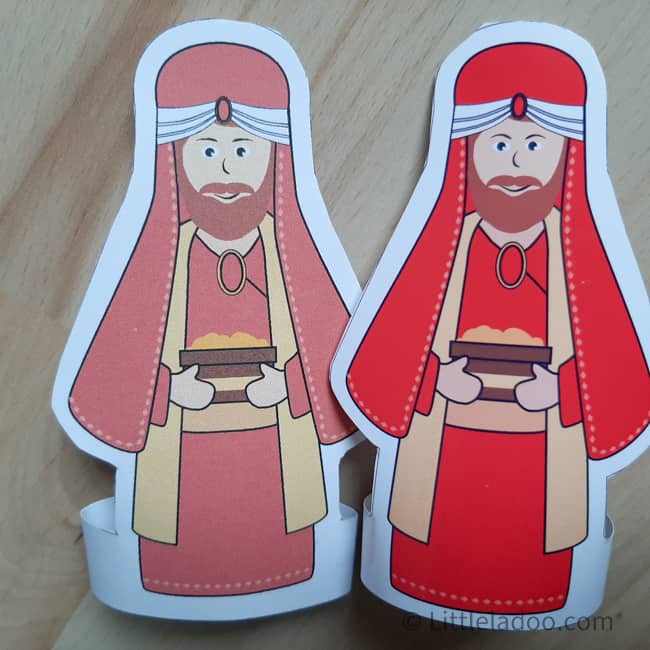
If your printer supports it, using photo paper is recommended.
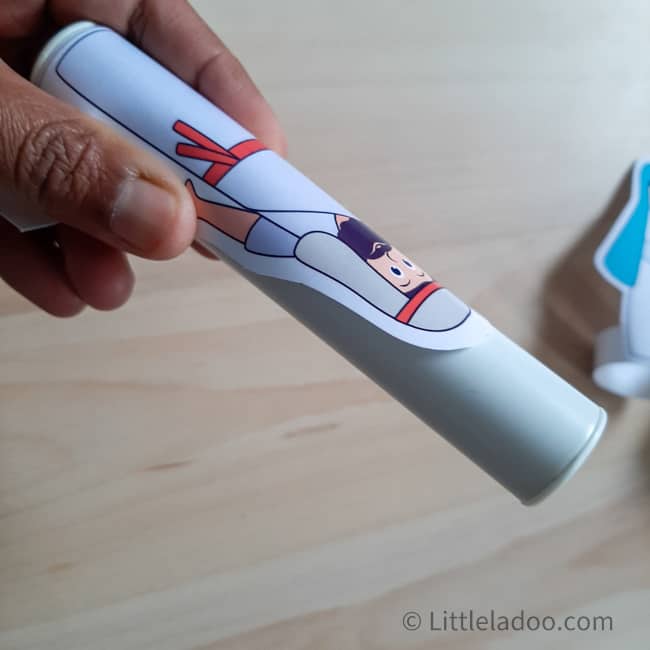
However, it’s important to note that photo paper is stiffer than regular paper, which may make it difficult to fold the characters. Use a cylindrical bar to fold the characters to ensure that they maintain their shape.
I hope the instructions to assemble the nativity scene were clear and Helpful. This would make a fantastic craft project, and older children can enjoy making it with minimal assistance from adults.
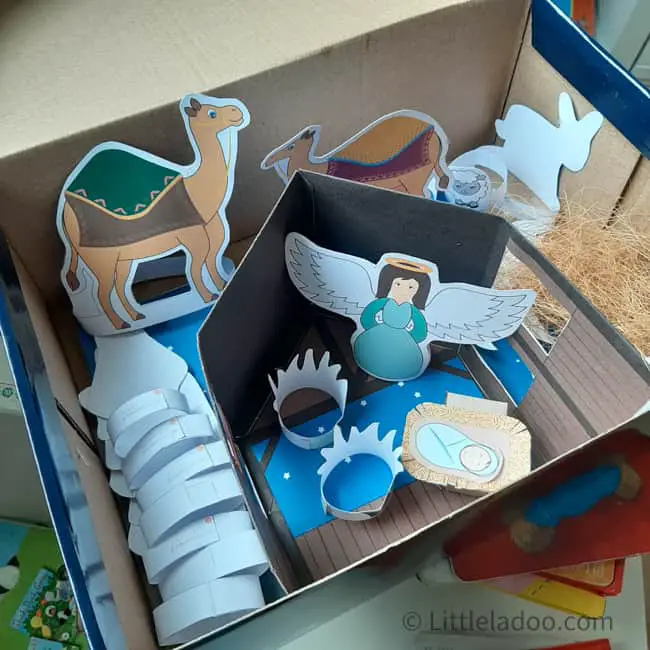
Storing the Nativity Scene for Next Year
We have been using the same Nativity scene that we created in 2020 for three years now. After the Christmas season, I store it in a box to use for the following year. Despite being made of paper, it remains in good condition and lasts for years.
To reuse it, simply stack the characters in a box and it will be ready for the next year.
Ready to Make the Nativity Scene with the Printable? Get the Nativity Printable
Don’t forget to have fun creating your own unique Nativity scene! It can be a great way to spend time with your family and celebrate the holiday season.
Please let me know if you have any doubts while assembling it. Just leave a comment below or send a mail to [email protected].
Thanks for being here! We wish you a Merry Christmas and a Happy new year!