All activities should be supervised by an adult. As an Amazon Associate, I earn from qualifying purchases. This post may contain affiliate links.
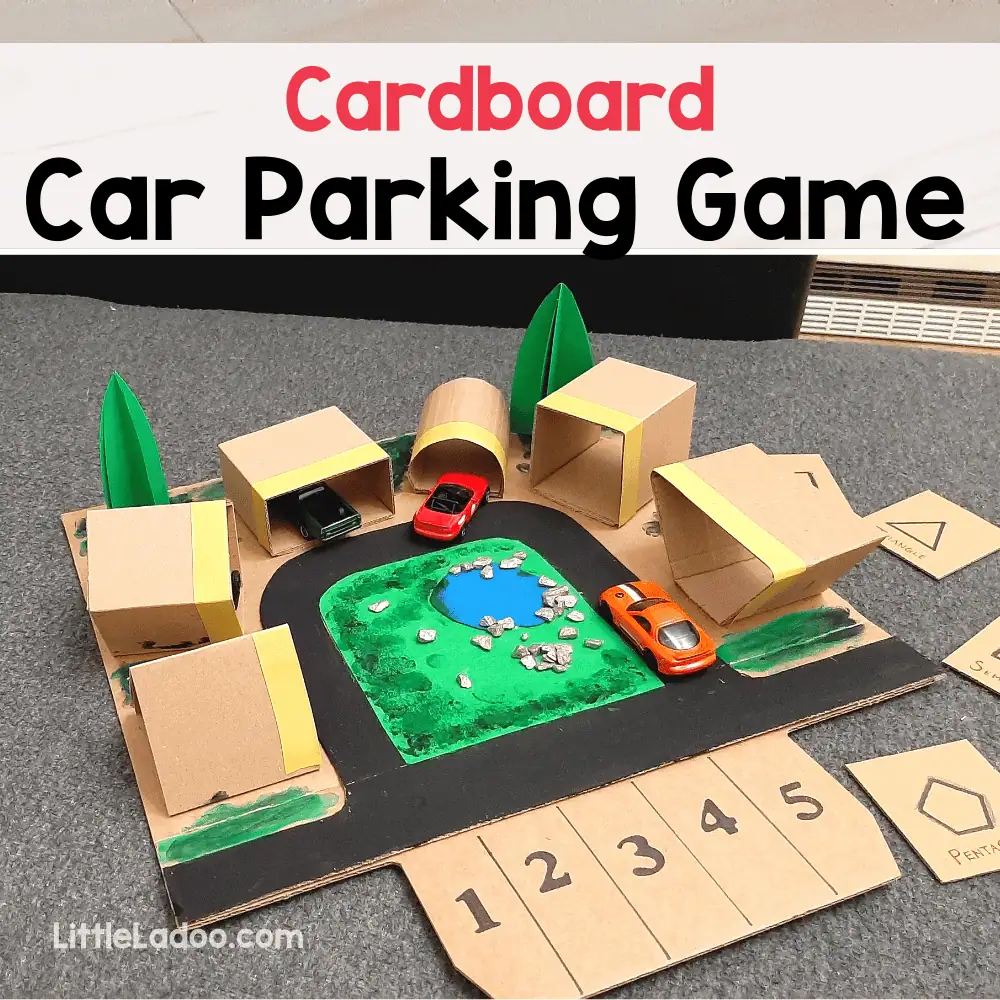
If your toddler is obsessed with cars, this DIY cardboard car parking playmat is a must-try! It’s not just a fun play surface—it’s also a clever way to introduce shapes and matching through hands-on play.
What makes this playmat unique? Each parking garage is a different geometric shape, and kids use shape flashcards to match and park their toy cars in the correct spot.
It’s a brilliant combo of learning + pretend play—and super simple to make with materials you already have at home!
Watch the full video tutorial or follow the step-by-step instructions below.
Materials You’ll Need
- Cardboard sheets (various sizes)
- Acrylic paint (black + colors of your choice)
- Hot glue gun
- Cutter & scissors
- Felt sheets or colored paper
- Colored tape
- Black marker + number/letter stencils
- Decorative elements (e.g., small pebbles, foam grass, paper trees)
Step-by-Step: How to Make a Cardboard Car Parking Mat
Step 1: Create the Shape Garages
Start by cutting strips of cardboard approximately. 7 cm wide. Fold and glue them into different 3D shapes with flat bases, each deep enough to fit a toy car comfortably.
Here are a few shapes you can use:
- Square
- Rectangle
- Triangle
- Semi-circle
- Pentagon
- Trapezium
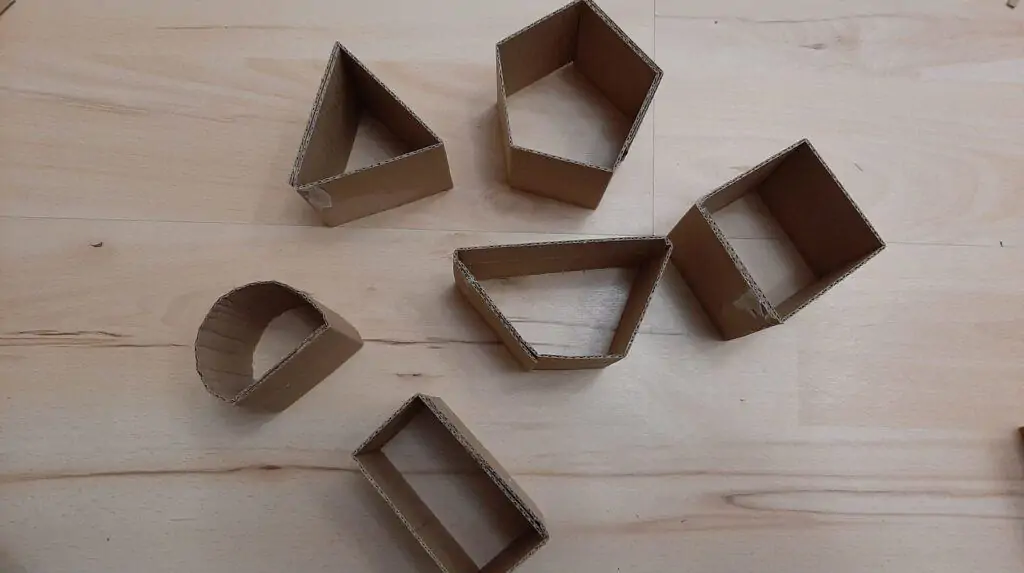
Tip: Keep the base of each shape wider than 5 cm for easy parking access.
Step 2: Make the Road
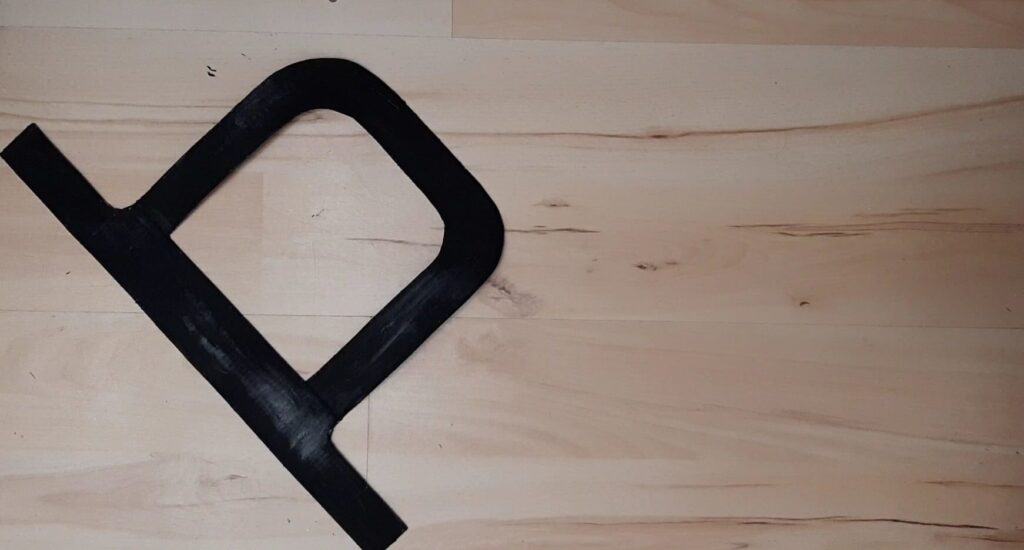
Cut road segments out of cardboard and paint them black using acrylic paint. Add lane lines or arrows with white paint or tape to mimic real roads.
You can even add intersections or a roundabout if you want to get creative!
Step 3: Assemble the Playmat
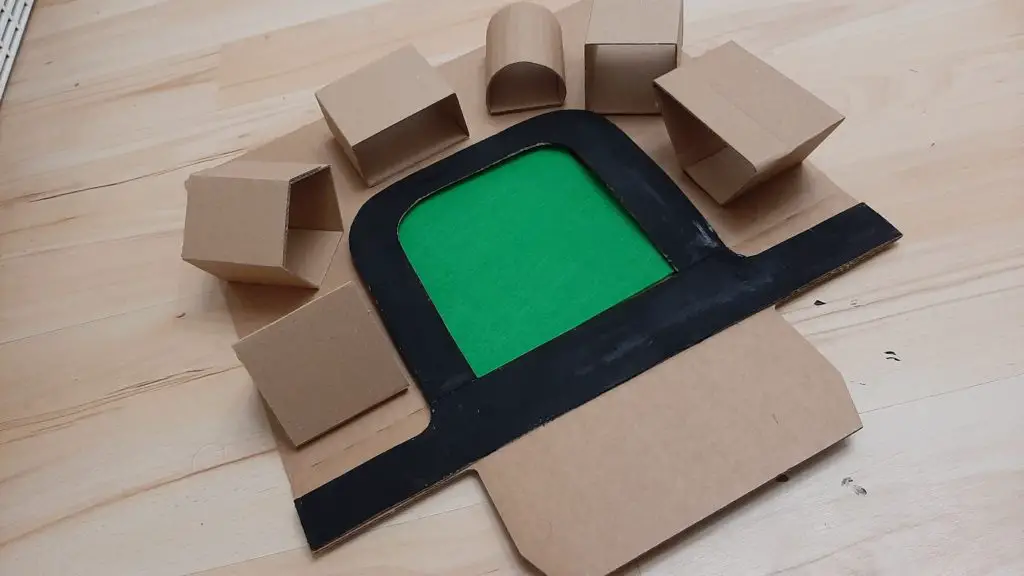
Take a large base sheet of cardboard and glue on your garages and roads. Arrange them in a layout that allows free access from at least one side—this makes it easier for toddlers to play without knocking things over.
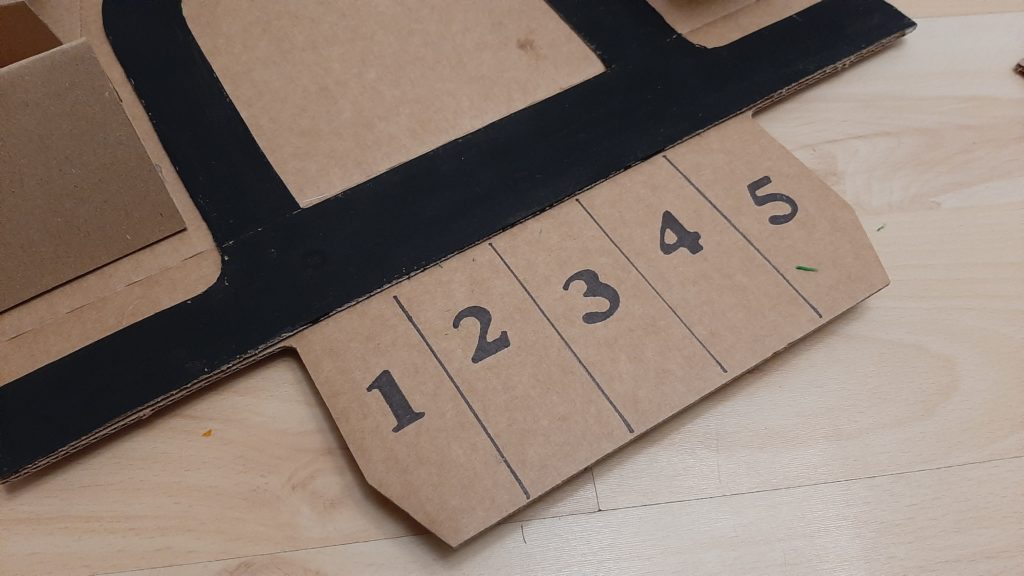
Use a stencil and black marker to:
- Mark the parking lot numbers
- Add arrows or “stop” signs
- Label each shape garage if you want
I made 5 parking spaces to match our five Hot Wheels cars—but you can easily expand it!
Step 4: Add Decorative Elements (Optional)
While this part is optional, it really brings the playmat to life!
Here are some fun extras to include:
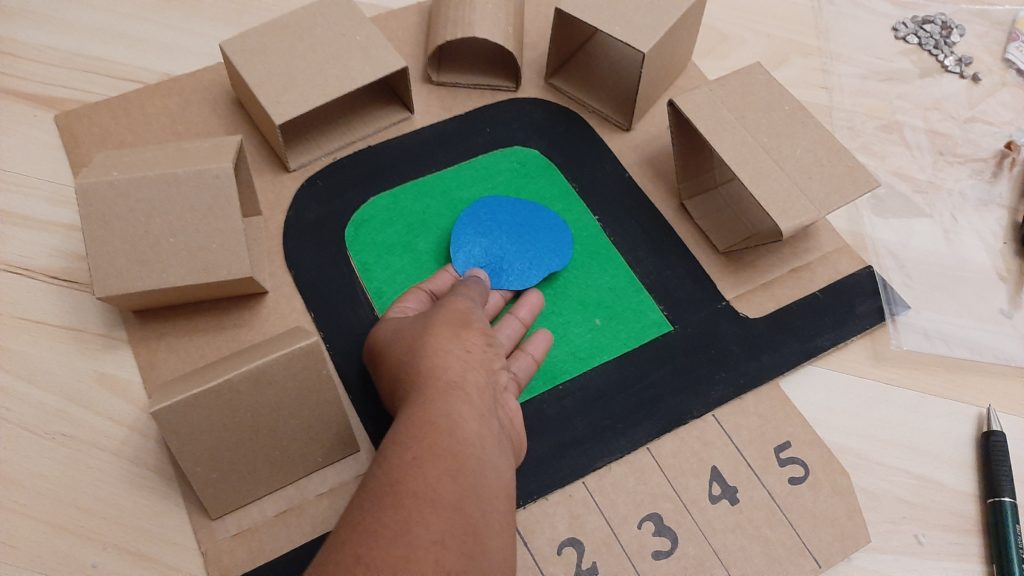
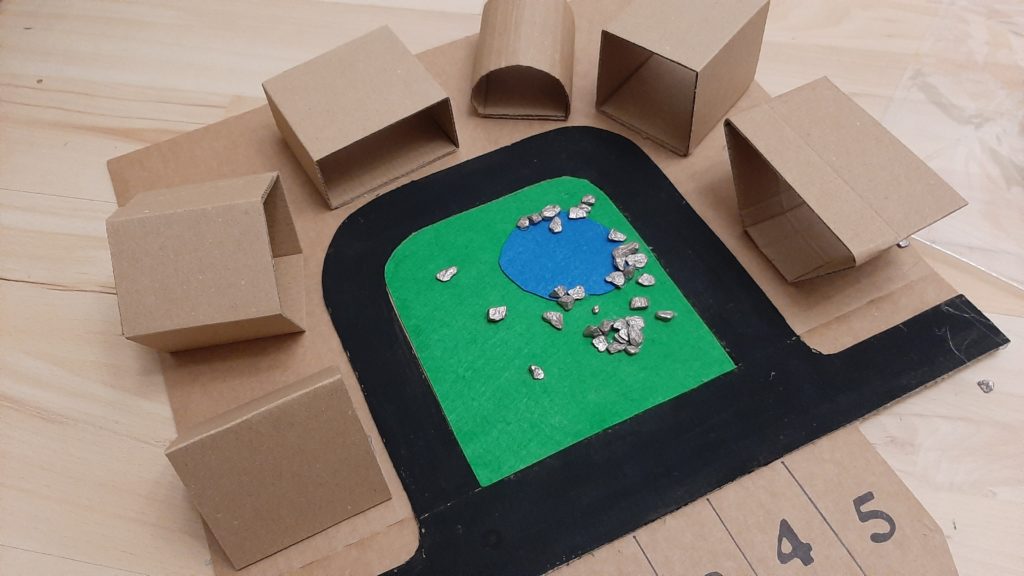
- Grass and water areas using green/blue felt or paper
- Paper trees or cardboard street signs
- Decorative stones or pebbles for landscaping
Let your child help with this part—it makes the project even more fun!
Step 5: Make the Shape Flashcards
Cut small cardboard squares and draw one shape on each, matching the garages you’ve made. Use these as prompt cards to play a shape-matching game.
Here’s how to play:
- Show your child a shape card.
- Let them name the shape.
- Drive a toy car on the road to park it in the matching garage!
It’s a fantastic way to teach shape recognition, spatial awareness, and fine motor skills—all through play.
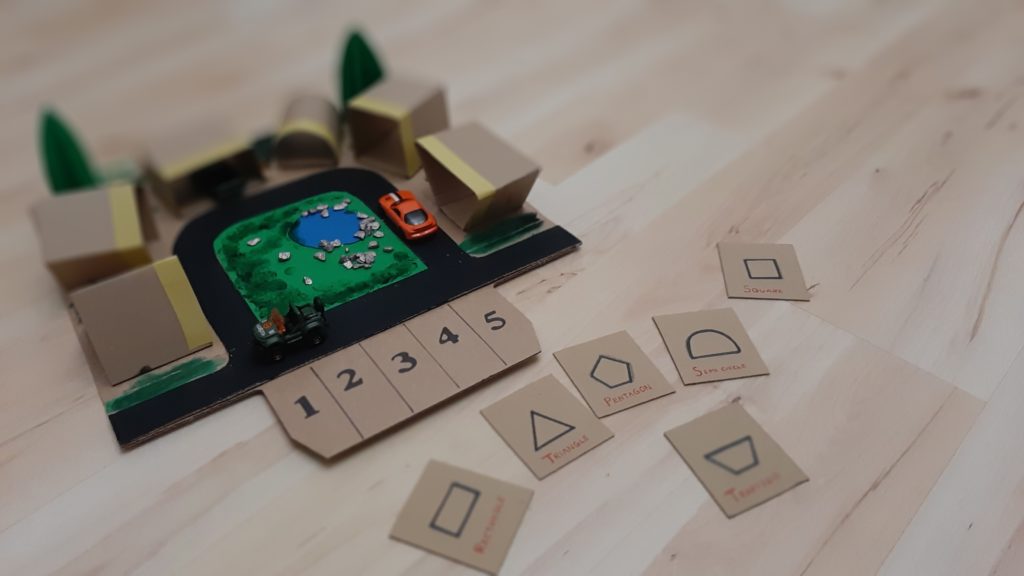
This also serves as a small world playmat where kids can create stories and play with Playmobil or Lego characters or wooden pegs.
Now, here are some ideas for garages for each age group.
More Ways to Play
This playmat can also double as a small world setup! Add:
-
Playmobil or LEGO characters
-
Wooden peg people
Kids can create entire stories around their cars, garages, and little town—fueling their imagination while practising cognitive skills.
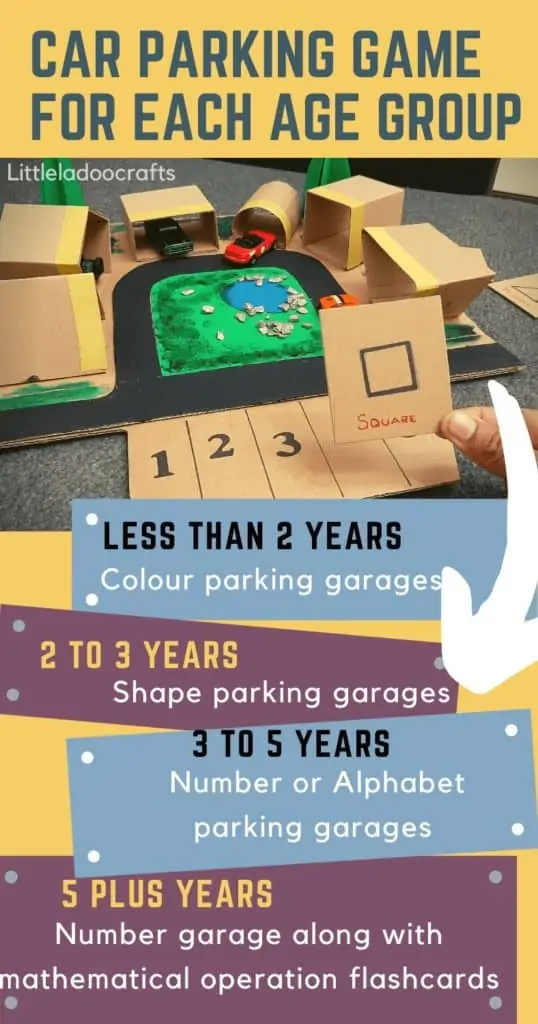
Bonus: Garage Ideas by Age
Here are a few customisations depending on your child’s age:
-
Ages 1–2: Use just 2–3 simple shapes and fewer roads.
-
Ages 2–3: Number or Alphabet Parking Garages
-
Ages 3–5: Mathematical Operations with more slots to park
Pin this project to your DIY kids’ crafts board so you can find it later!
Leave a comment if you try this—I’d love to see your versions!
More Cardboard Ideas for Toddlers
